What makes a great exterior paint-job? Some suggestions...
|
Just read the directions. Why wait for all else to fail?
I’m always
surprised to see how many finishes fail simply because people don’t read
the back of the can. For example, most paints don’t like you coating
bare wood without priming first, and most stains will fail if you apply
them in direct sunlight. Good manufacturers test their product to see
what works best. Put their experience to work for you. |
Whether it’s your fence, the trim around your doors and windows, your
siding, a garage door or entryway, an exterior paint or stain should
look good, protect your home and last. I've posted pictures of a few of
our exterior finishing projects.
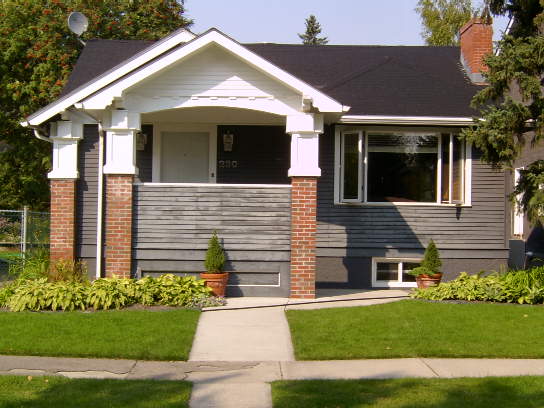
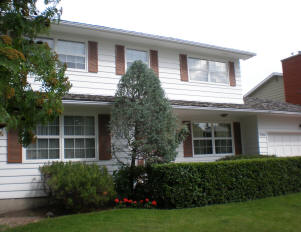
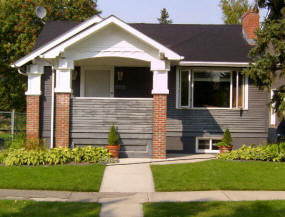
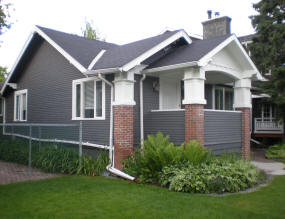
We completed this exterior in September of 2006 - it's
a charming older home in Kelvin Grove. Picture taken July '08. |
"An ounce of prevention is worth a pound of cure."
Benjamin Franklin probably wasn't thinking of
exterior finishes when he said this, but the advice fits.
-
Remove loose and failing paint. It
won’t matter how strong the adhesion properties of the new paint are
if the inner coat fails.
-
Fill any cracks or holes with a premium
outdoor quality filler to discourage moisture penetration. Fill any
holes or impressions in flat, horizontal surfaces like column
capitals or railings so that moisture can’t find a place to sit.
-
Deal with any mould or fungal issues
before you apply any finish. We’ll remove the growth (we do this
with a bleach/salt solution. If you’re curious, the salt is TSP or
tri-sodium phosphate), but it’s even more important to deal with the
underlying cause. Where there’s mould, there’s moisture. A usual
culprit is siding or a fence board too close to the ground. Moisture
becomes trapped where your lawn or shrubs contact your siding or
fence – mould and rot can set in. A few minutes with a weed trimmer
is usually the solution here – and much less expensive than
replacing fence boards or siding.
-
During the winter months, keep finished
surfaces clear of the elements. Snow can accumulate on flat deck
surfaces or against the bottom of your fence or siding. When the
sun reflects off the surface and melts the snow water traps against
the finish and can sit there for weeks or months – even when the
temperature is below freezing! Then you’ll have problems. When we
perform an estimate we’ll let you know where we think you’ll find
the potential problem areas – no charge.
|
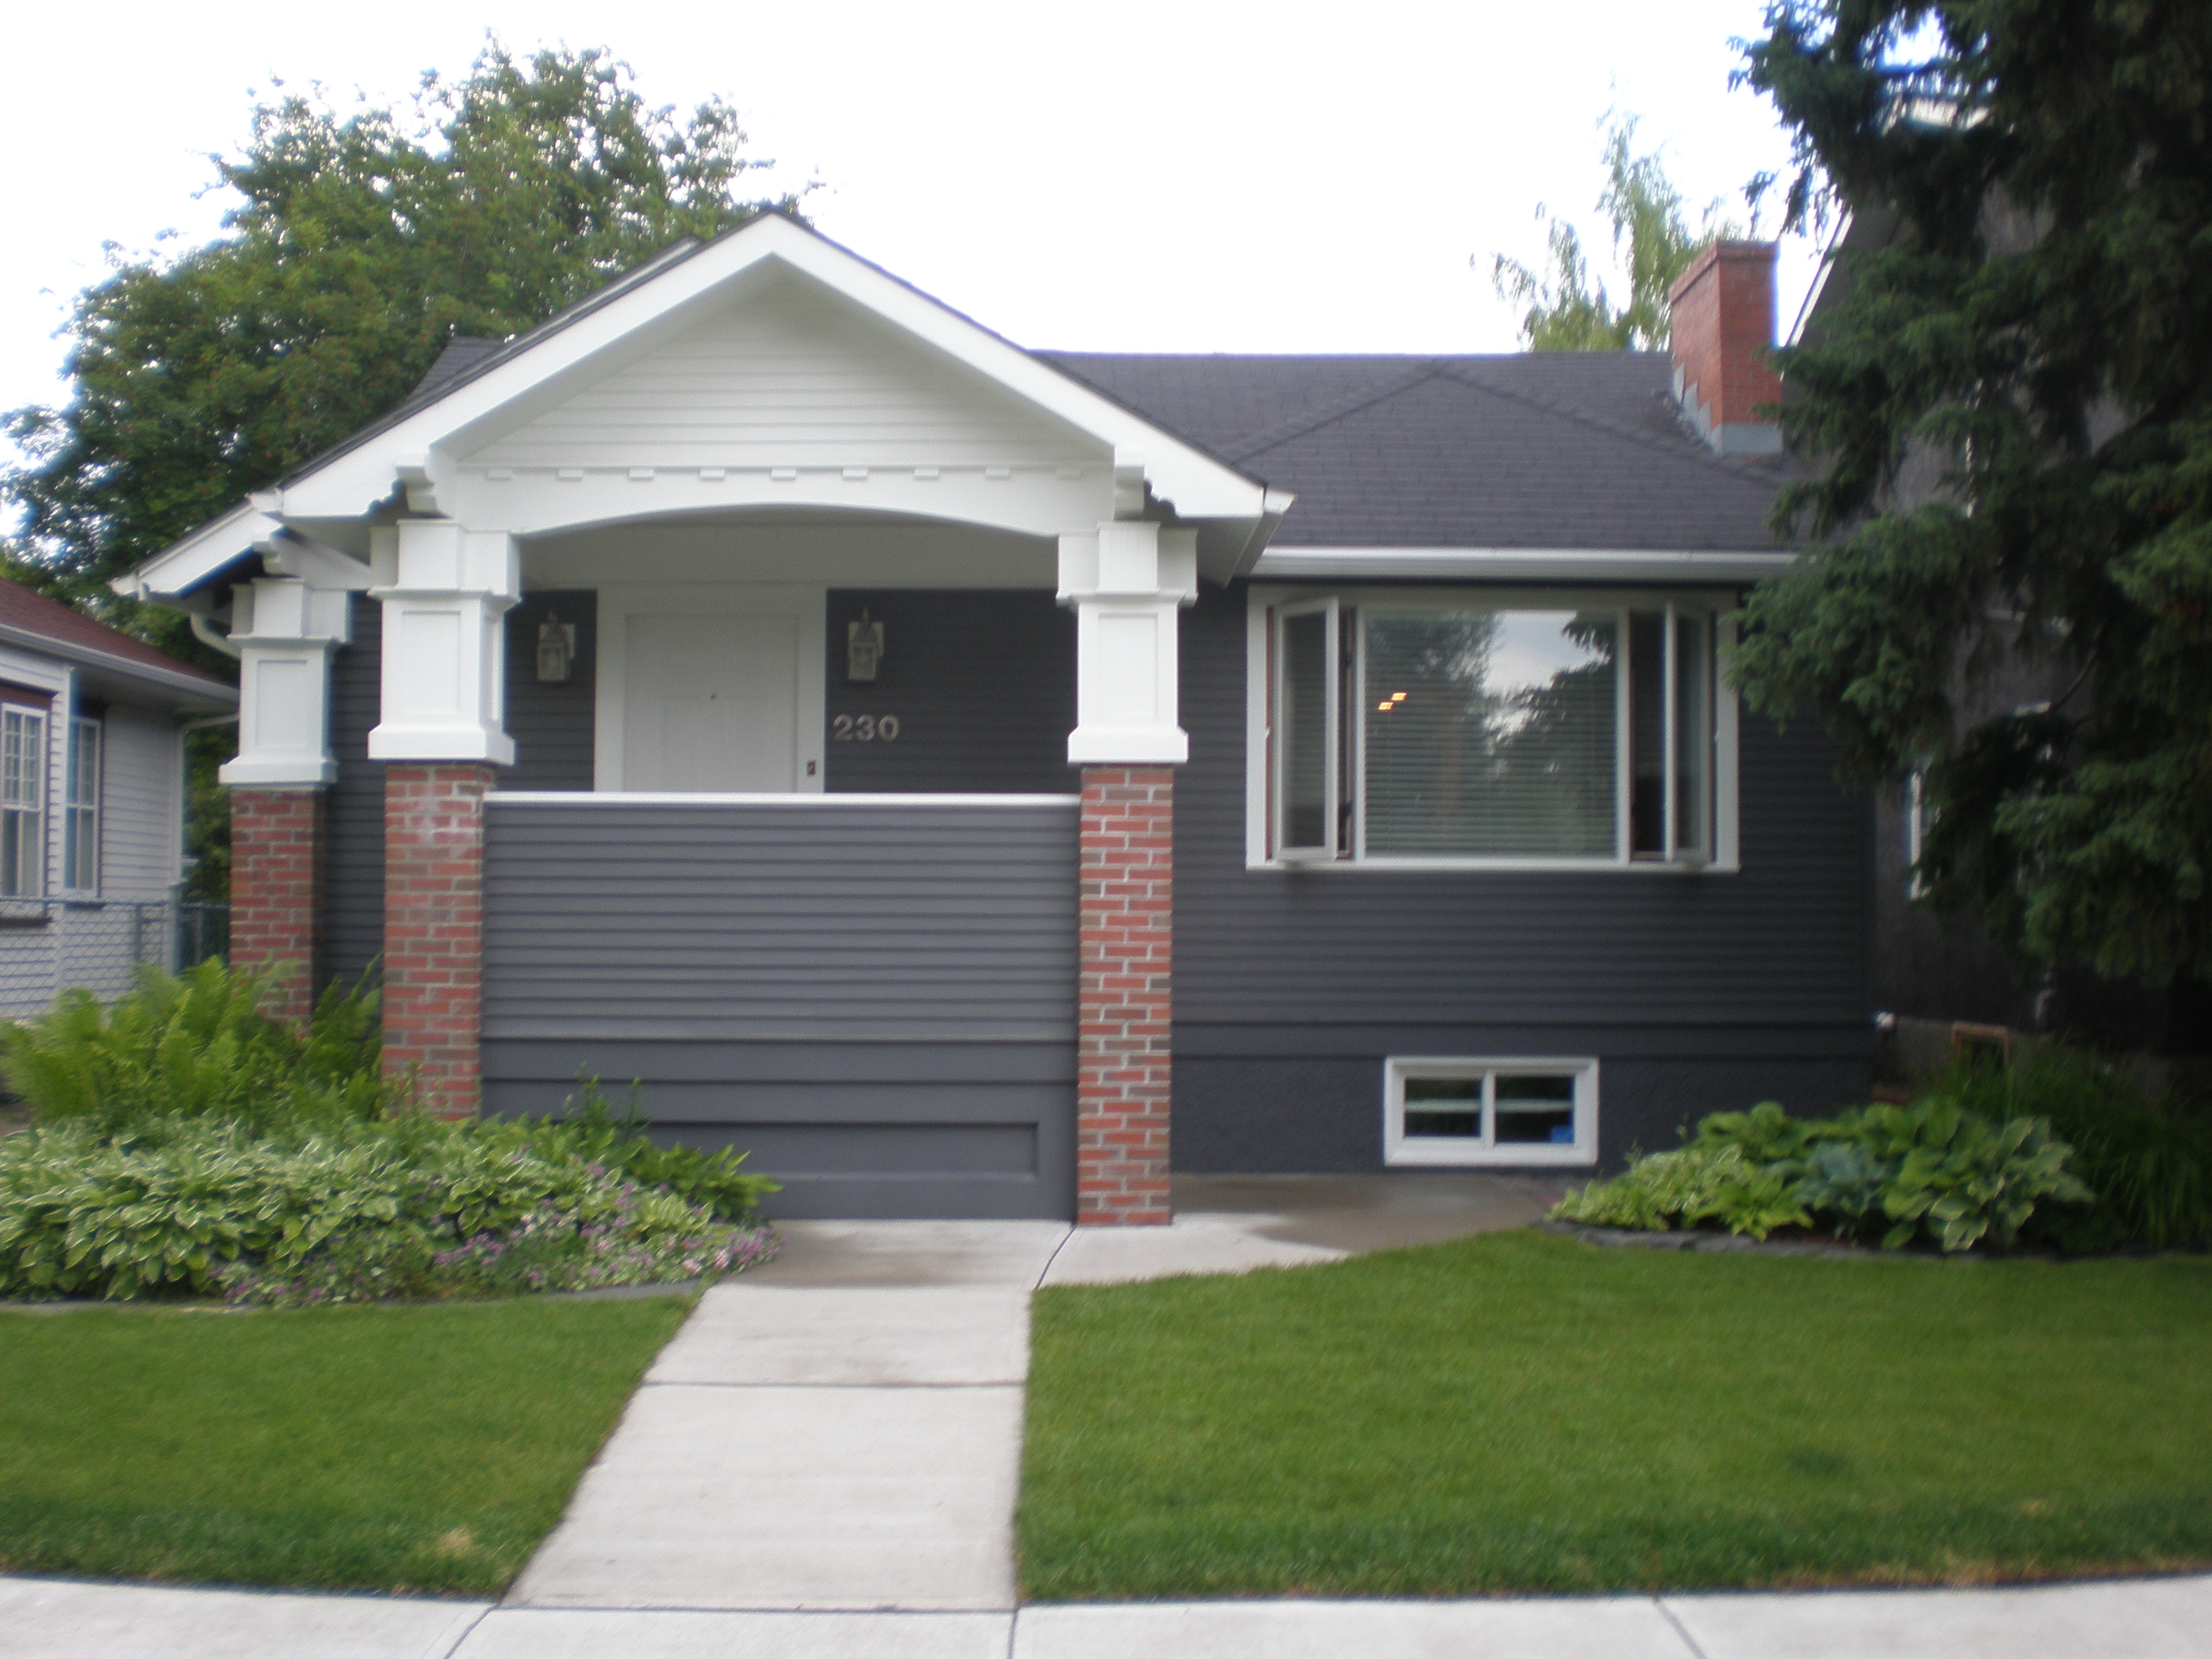
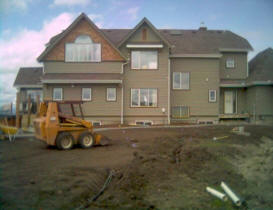
We completed this exterior at around the same time as the Kelvin Grove
home shown above. It was newly constructed in Elbow Valley at the time.
Both pictures - this home and the one above - were taken in July of
2008. Both finishes were completed in September of 2006 - nearly two
years before! |
"If it ain’t broke, don’t fix it."
I don't think Ben Franklin coined this quote, but
it's still good advice.
Stick with product you know works.
All products don’t perform equally – even when
produced by the same manufacturer. I’ve seen cases where product that
performs magnificently is manufactured under the same roof as product
that fails abysmally. Sometimes these products sit next to each other on
the same shelf at your local retailer.
Frightening.
We were asked to repair several deck finishes in
Riverbend in 2004 because a major home improvement retailer put on a
promotion for a particular manufacturer’s deck product that failed
miserably. This product was so poor that Consumer Reports Magazine™
published that they had stopped testing it after just a few hours. Yet
the interior and fence/siding products from the same manufacturer are
fantastic. Part of the promotion for the poor deck product was the fact
that the "do-it-yourselfer" could clean up his brush and roller with
soap and water. But I don’t think he even needed the soap (or the
water!). Some of the finishes we saw had already started failing within
just a few weeks of application.
Very frightening.
We research our
product choices through such consumer review media as Consumer Reports
Magazine ™. But even so, and as much as possible, we’ll stick with
product we know performs well from personal experience. In the
before-and-after shots you see here, the “after” shots are taken up to
three years after the work was completed. It’s one of the methods we use
to ensure the product we choose can perform. |
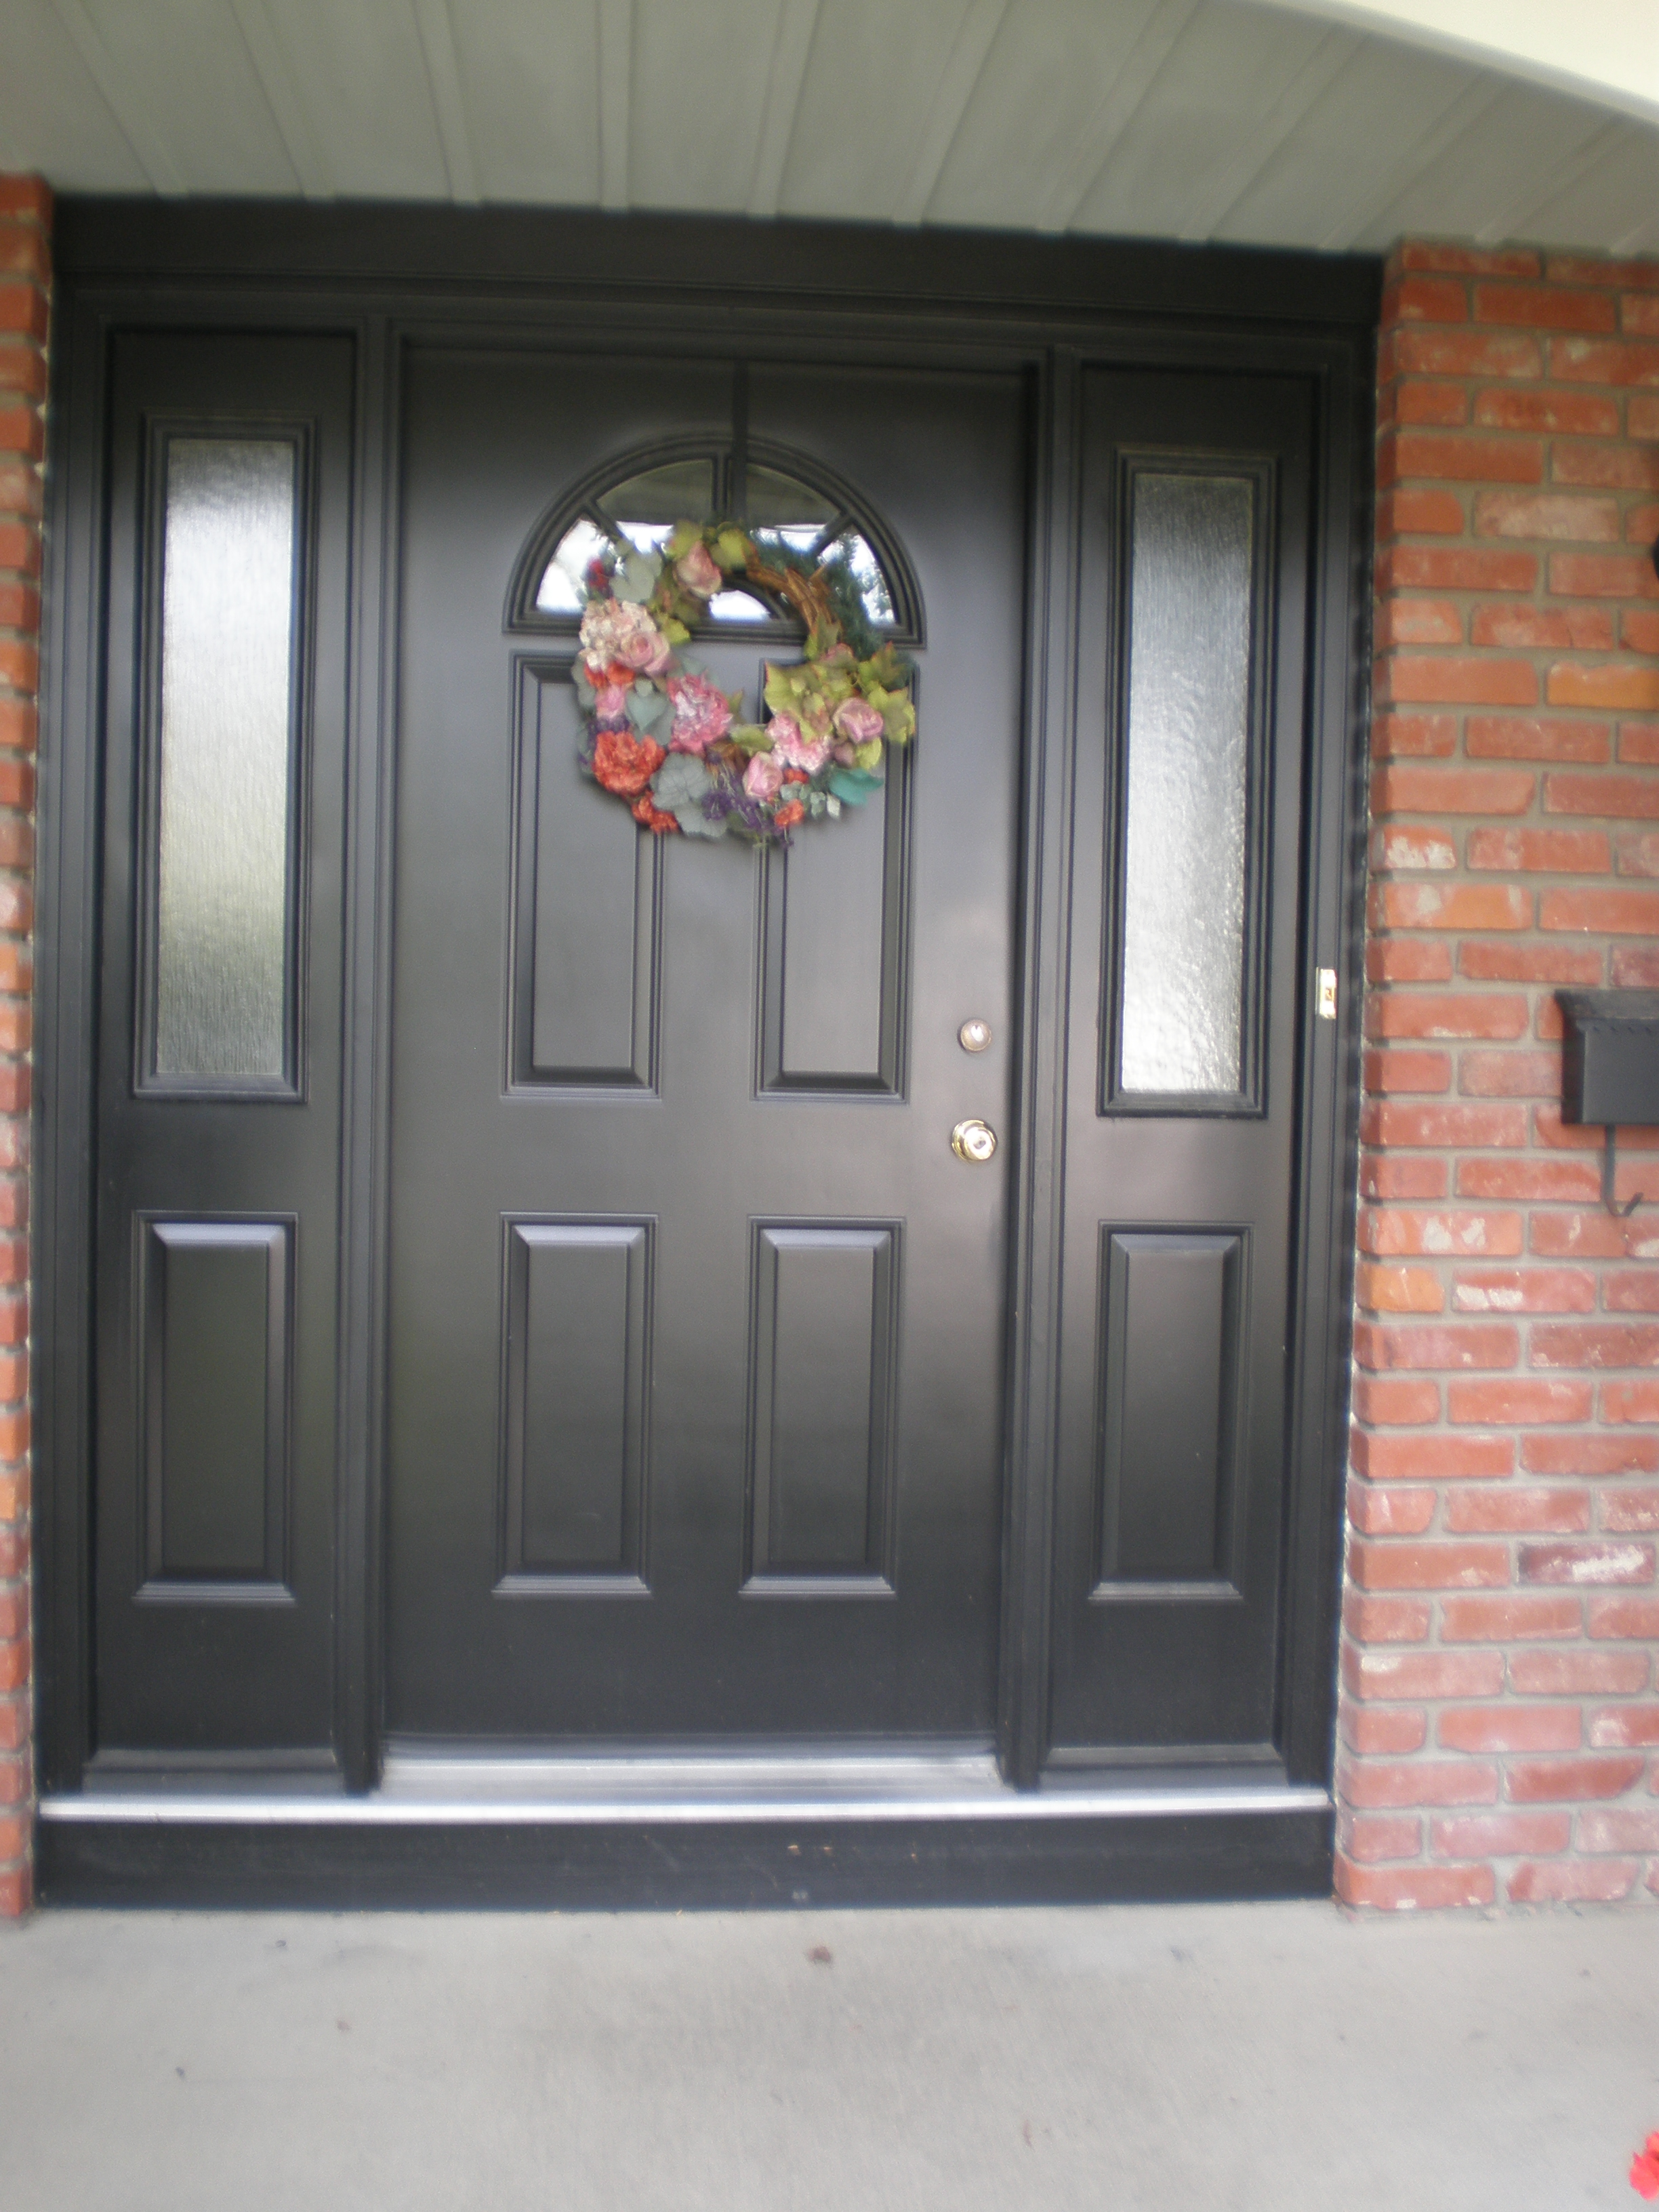
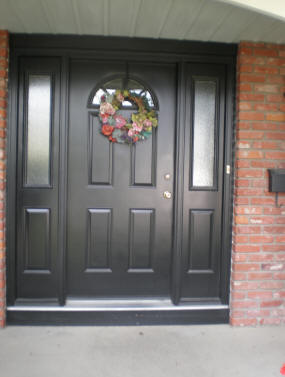 We
finished this entryway in November of 2005. The picture was taken in
July of 2008 - almost 3 years later! Arguably, black with a sheen is the
worst color for showing problems, but this door still looks fantastic.
Click the image for a high-res view. We
finished this entryway in November of 2005. The picture was taken in
July of 2008 - almost 3 years later! Arguably, black with a sheen is the
worst color for showing problems, but this door still looks fantastic.
Click the image for a high-res view.
We finish wooden entryways as well - next time we update our website
I'll post a few. |
This Elbow Park home's finish was in rough shape when we got to it. We
completed repainting in October 2006. |
 Here's
it is in July of 2008, almost two years after we completed the project. Here's
it is in July of 2008, almost two years after we completed the project. |

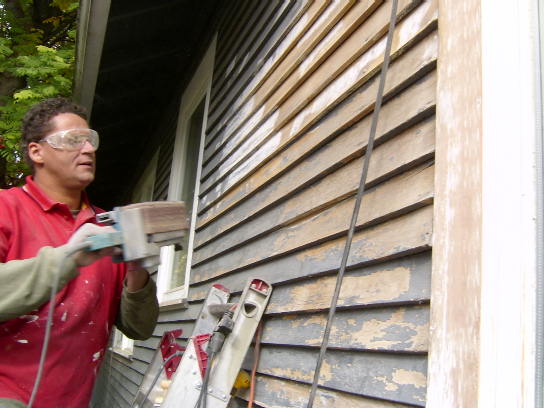
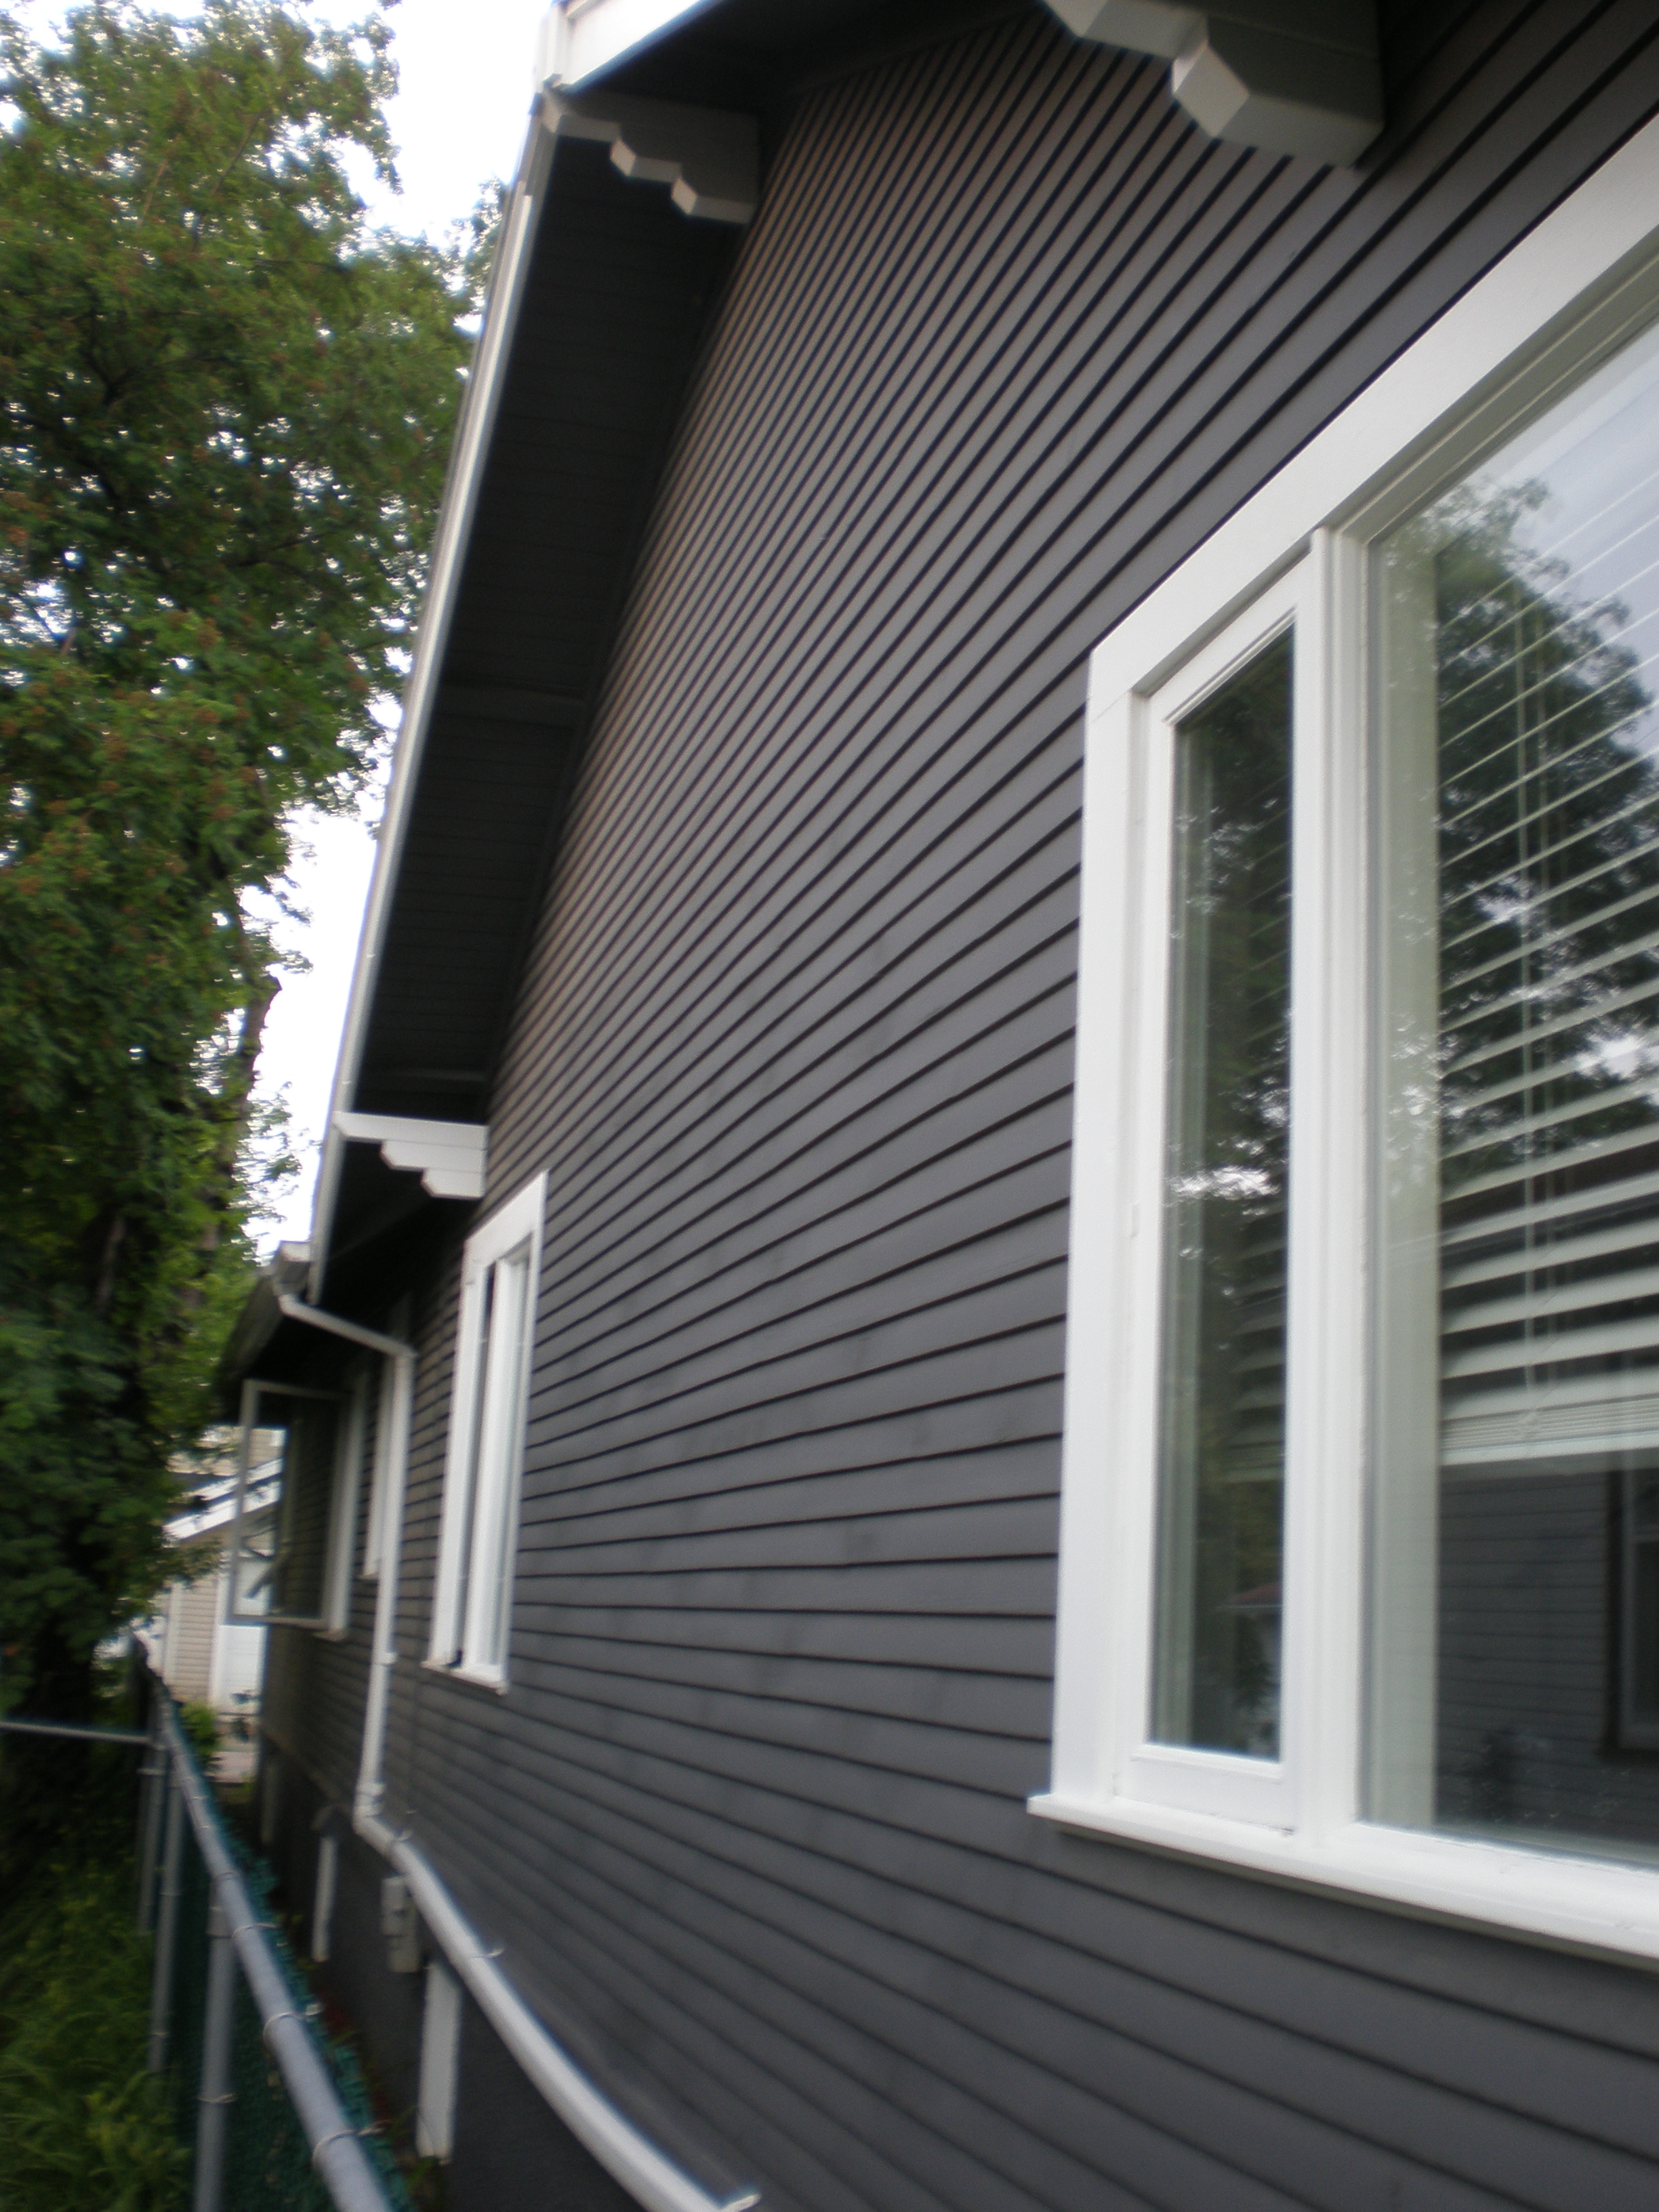
The West side of this same home was particularly rough. Sometimes when a
finish fails the only answer is to remove it. We painstakingly
extricated the failed finish with a belt-sander, elbow grease and a lot
of patience. |
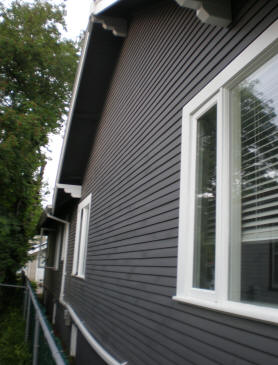 And
nearly two years later the finish still looks great. This picture was
taken in July of 2008. And
nearly two years later the finish still looks great. This picture was
taken in July of 2008. |
 Here's
a shot of the whole house from the Southwest. This home is a testimony
for good product choice, thorough preparation and solid workmanship. |
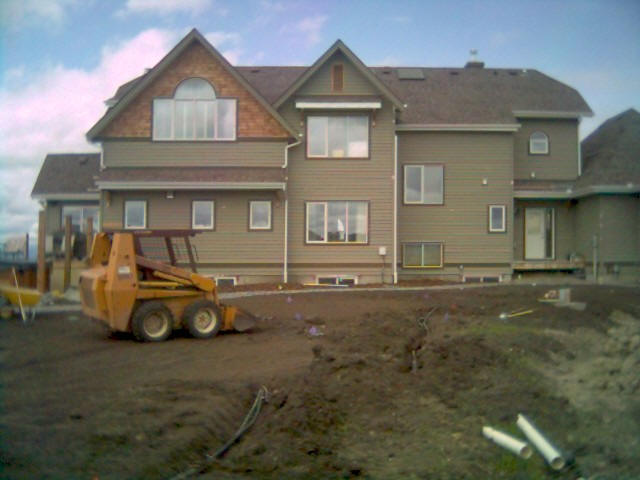
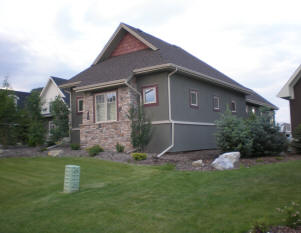
 Construction
had only recently been completed on this behemoth in September of 2006
when we commenced this project. If you can believe it, there's a sizable
chunk of house to the right that wouldn't fit in the picture. Construction
had only recently been completed on this behemoth in September of 2006
when we commenced this project. If you can believe it, there's a sizable
chunk of house to the right that wouldn't fit in the picture. |
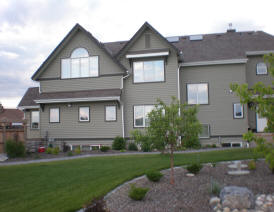
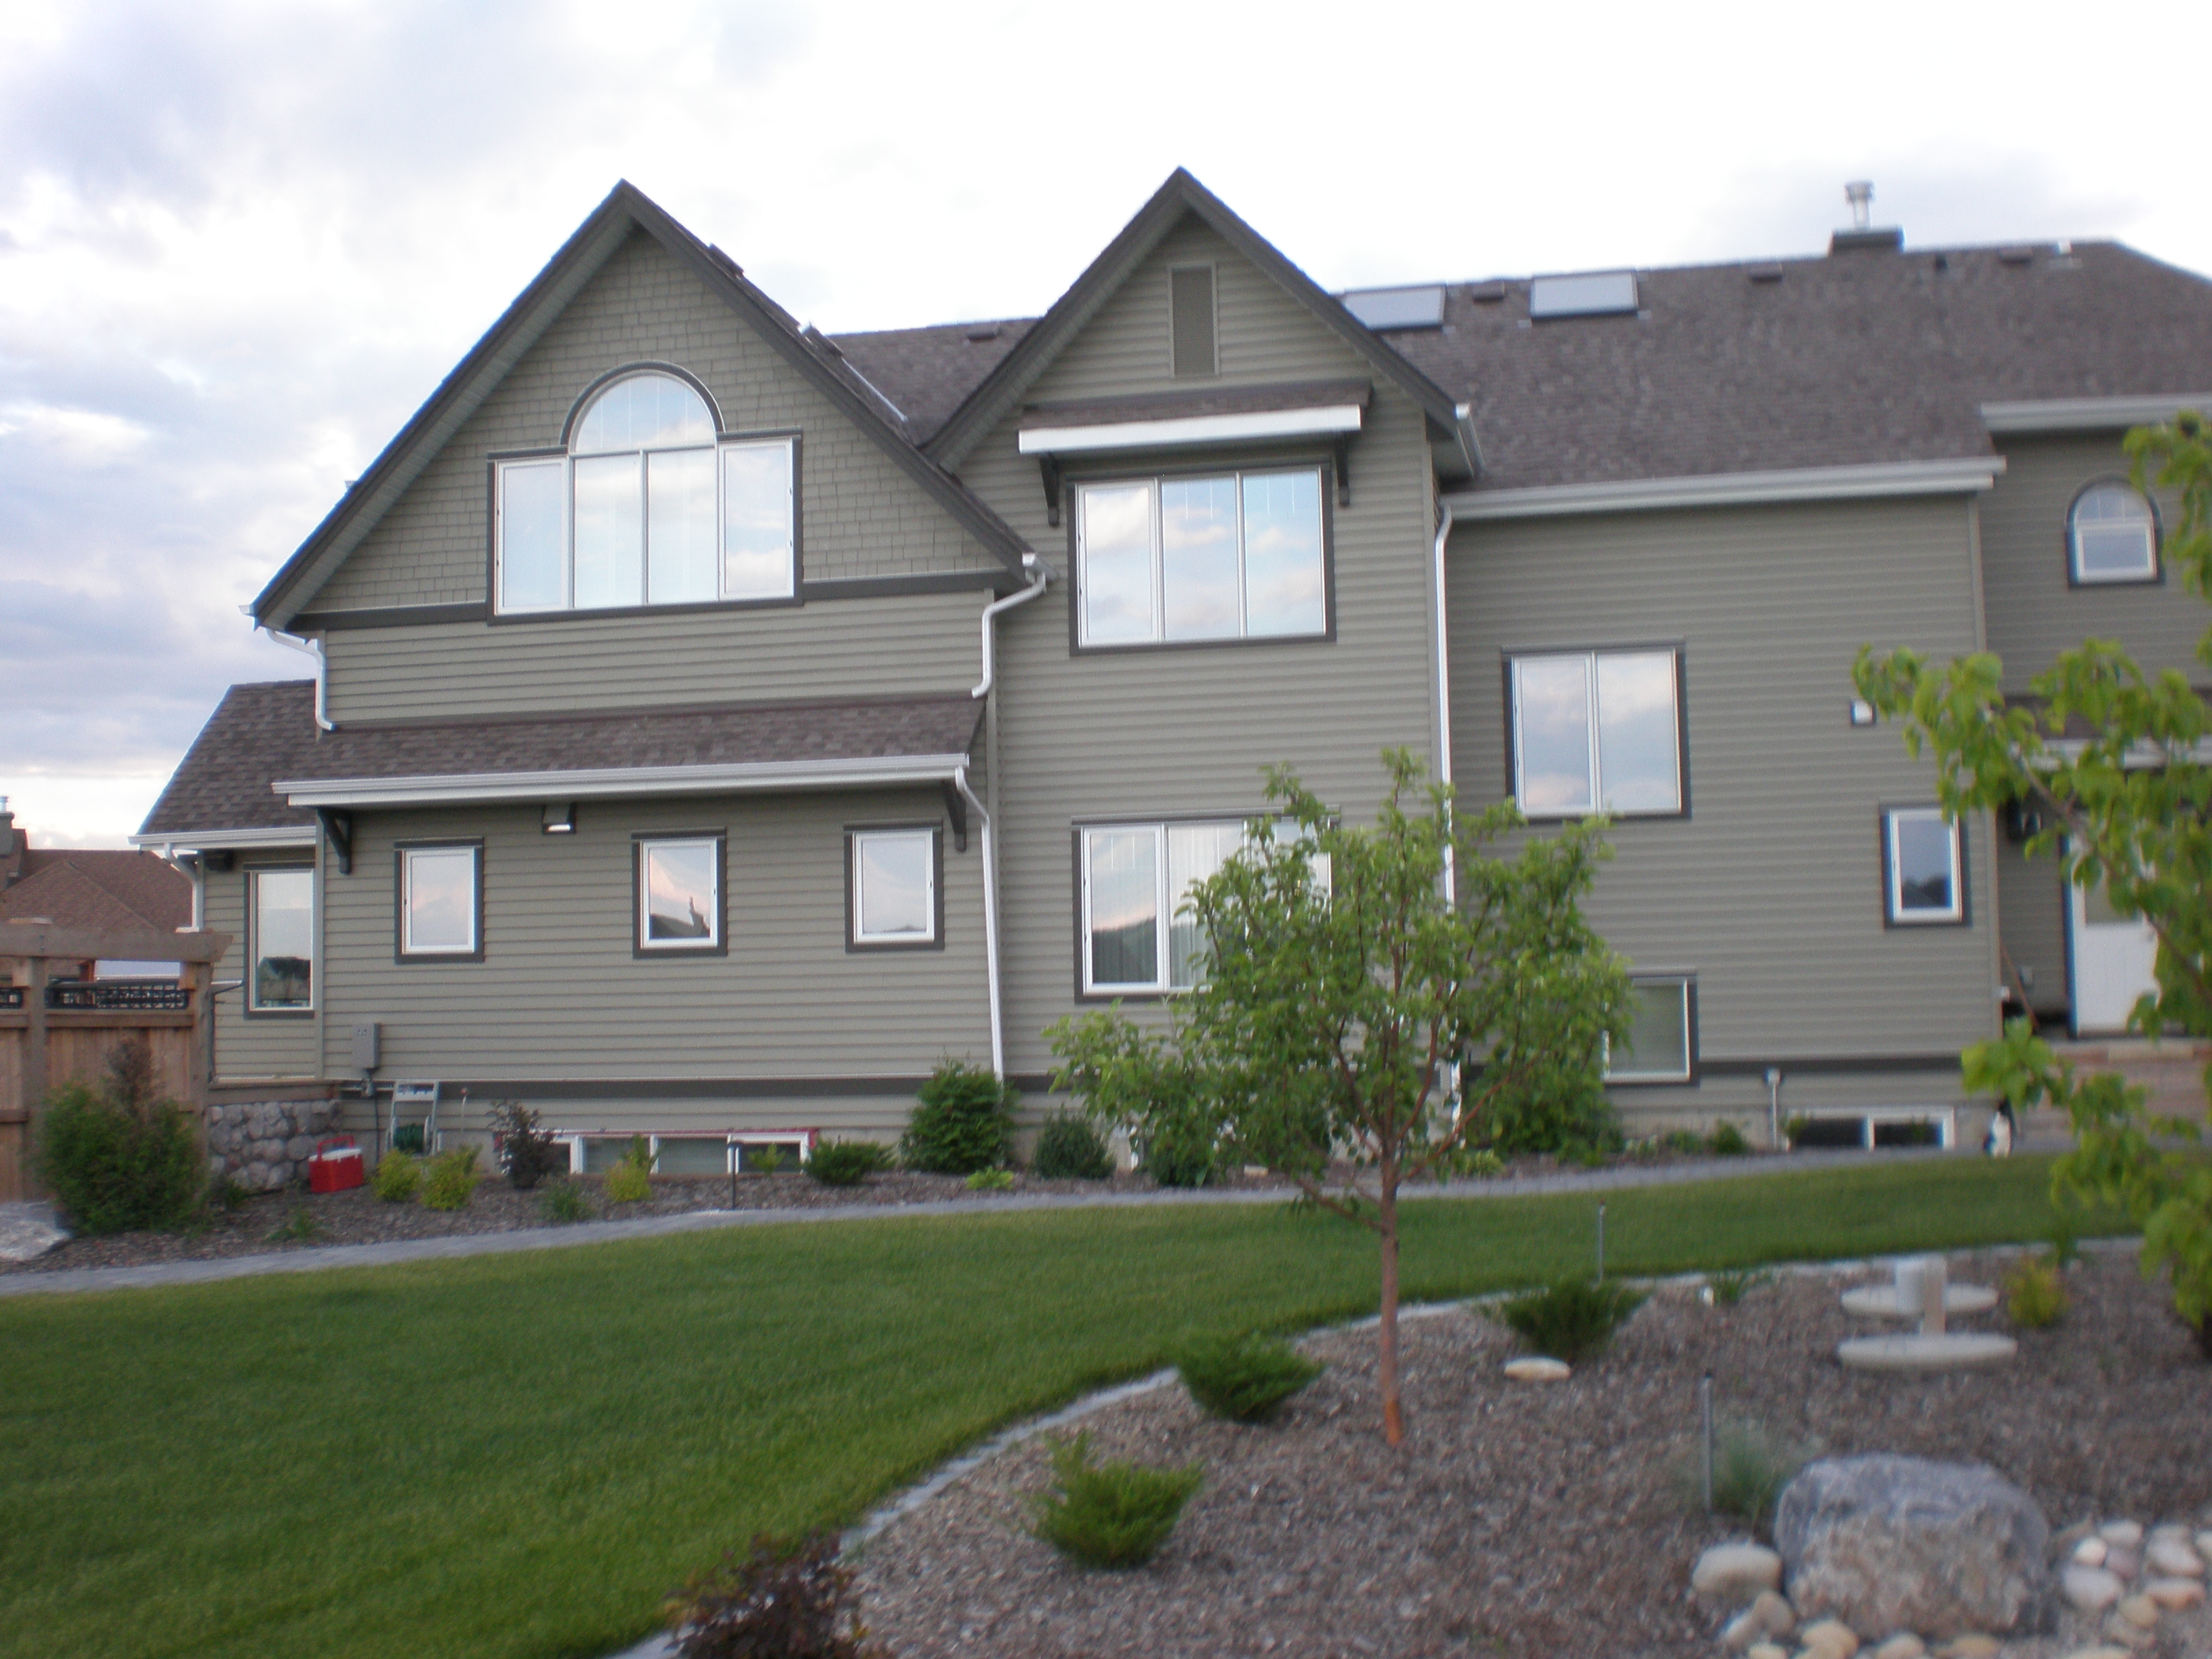
This picture was taken in July of 2008 - we completed the finish in
October of 2006. That's nearly 2 years. Click the image for a high-res
look. |
So why wait up to three years to take the "after" shots?
It gives us a chance to see:
- how well the product we
chose works, and
- how thorough we were with
our prepwork.
You see, if you’re our customer, putting a smile on
your face keeps us in business – and if our work looks fantastic up to
three years after the fact, you know we did good.
Call today for a free estimate!
(587) 703 5574 |